
Drone Night Photography Settings Complete Guide: Capture City Skies Like a Pro in 2026
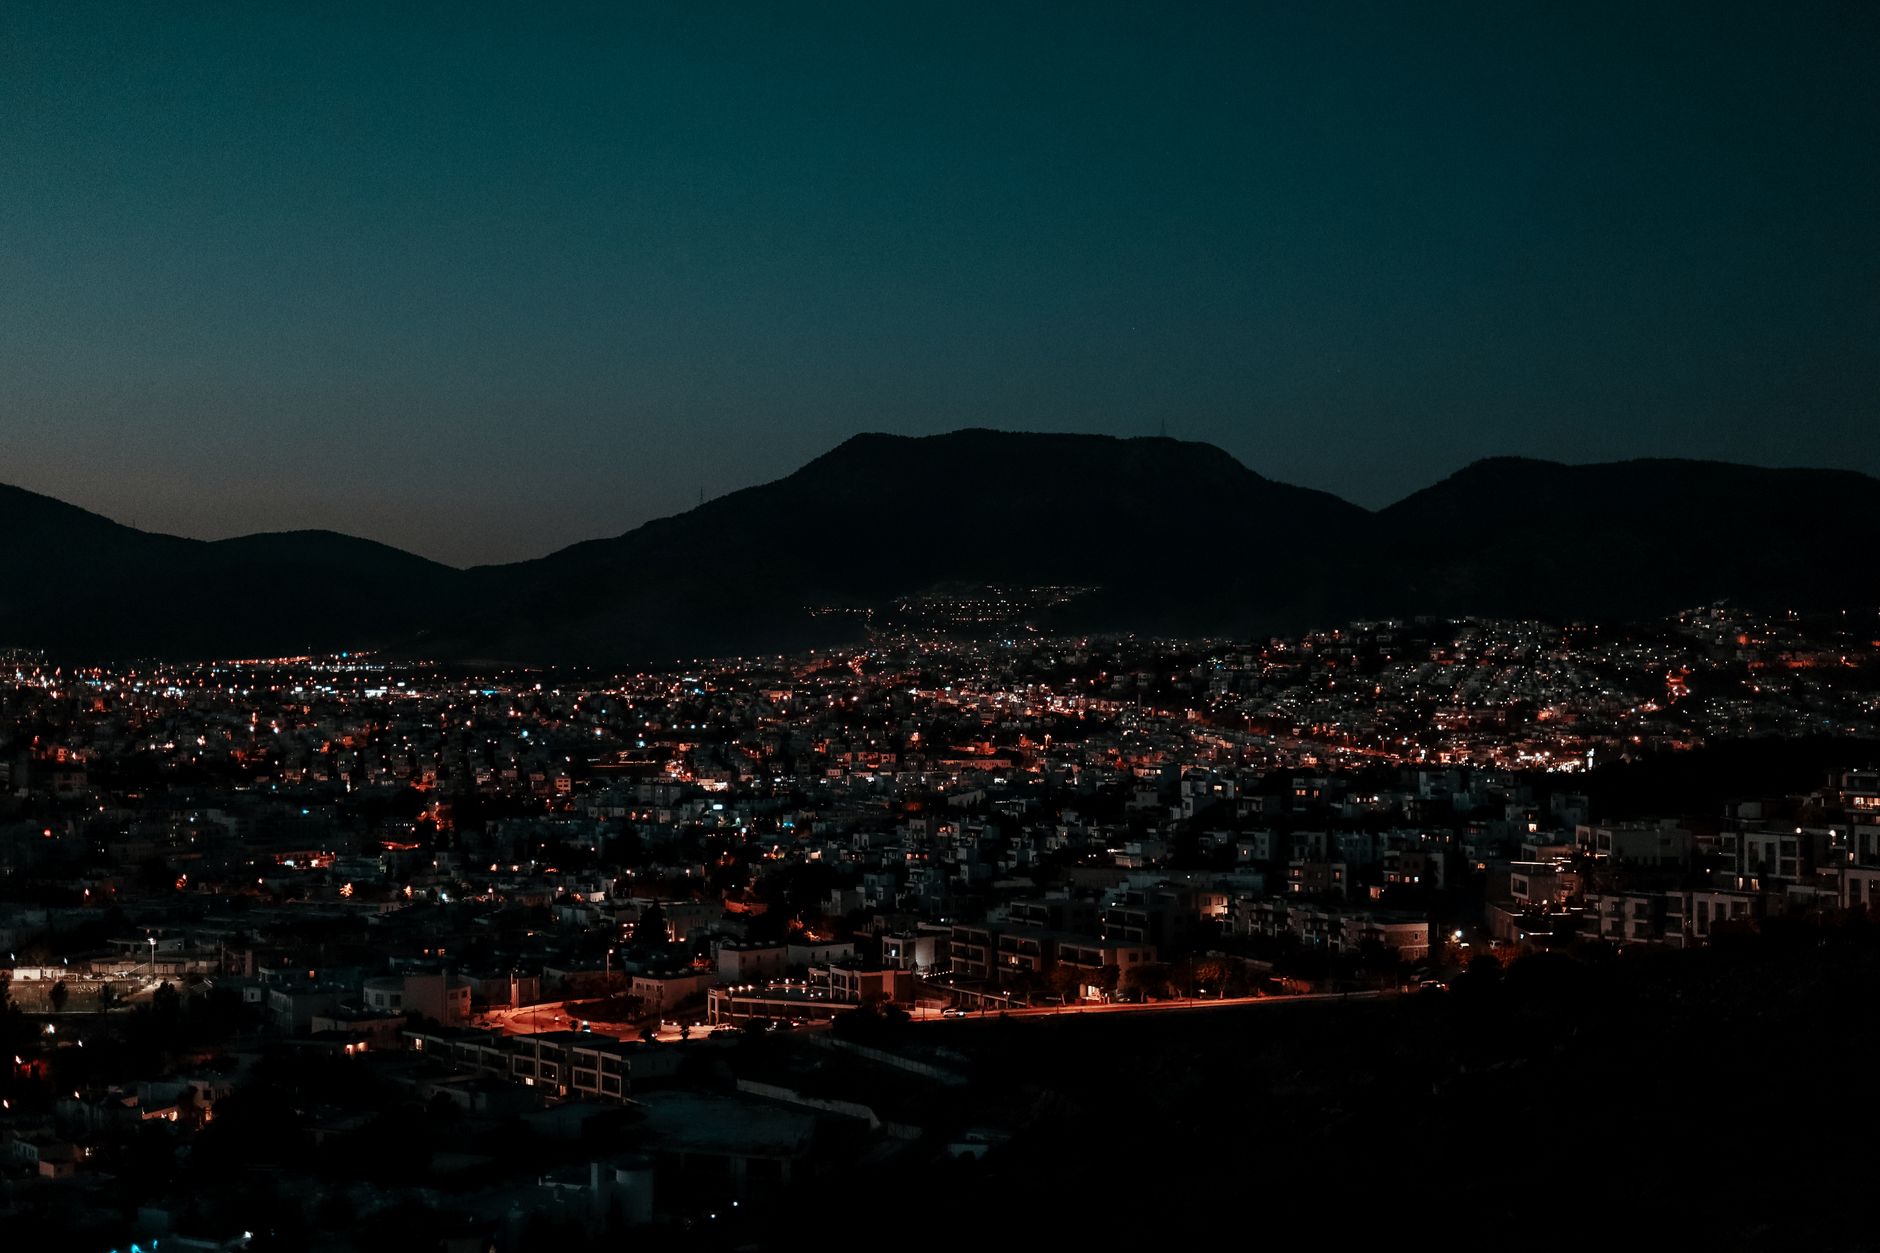
The Perseid meteor shower peaks this weekend, and across Instagram and TikTok, drone pilots are already posting previews of their setup rigs—gimbals locked, ND filters swapped for clear glass, batteries charging in hotel rooms near dark-sky parks. Night flying has exploded in 2026, fueled by DJI’s Mavic 4 rollout with its stacked 20MP sensor and the FAA’s expanded twilight waiver program for certified Part 107 pilots. But here’s what most of those viral clips won’t tell you: the footage that actually gets shared took fifteen failed attempts and a pilot who understood their drone night photography settings complete guide fundamentals.
If you’re still letting Auto ISO decide your exposure while your $2,000 drone drifts over a city skyline, you’re leaving shots on the table. This guide breaks down the exact manual settings, flight techniques, and post-processing workflow that separate amateur night clips from portfolio-worthy aerial imagery.
Why Auto Mode Fails After Sunset
Drone cameras aren’t fundamentally different from mirrorless bodies, but their smaller sensors and fixed apertures create unique constraints. In Auto mode, your drone will typically push ISO to 6400 or higher, drop shutter to 1/30s, and call it balanced. The result? Grainy footage with motion blur from prop vibration, plus crushed shadows where your city lights blow into featureless blobs.
The Mavic 4’s main camera (24mm equivalent, f/2.8 fixed) and the Air 3S’s 1-inch sensor both perform better than previous generations, but they still hit noise walls around ISO 3200. The Autel Evo Max 2’s larger sensor gives you more latitude, yet even its thermal variant’s imaging core benefits from disciplined manual control.
Here’s the reality: night photography with drones is about trading light gathering against stability and motion. You have three variables—shutter speed, ISO, and aperture—and only ISO and shutter are adjustable. Mastering that two-variable equation is everything.
The Core Settings Triangle for Night Flights
Shutter Speed: Your Primary Creative Control
For still photography, start at 1-second exposures and bracket from there. Yes, one full second. Your gimbal and drone’s GPS hover will handle most stability, but you’ll need zero wind conditions and Tripod mode engaged.
- Cityscapes with light trails: 2–4 seconds
- Static star fields (no Milky Way tracking): 3–5 seconds before star streaking
- Aurora or active meteor showers: 1–2 seconds to preserve motion definition
For video, the 180-degree rule still applies. At 24fps, use 1/50s or 1/60s. This seems impossibly dark, which is why your ISO and supplemental lighting decisions matter more.
ISO: Know Your Sensor’s Breaking Point
Test your specific drone before the shoot. Shoot a gray card at ISO 800, 1600, 3200, and 6400 in your typical night environment. Examine shadow noise at 100% zoom.
- DJI Mavic 4: Usable through ISO 3200; 6400 for emergency only
- DJI Air 3S: Clean at 1600, acceptable at 3200
- Autel Evo Max 2 (standard camera): Strong through 3200, usable at 6400
- Mini series drones: Cap at 1600; these 1/1.3-inch sensors punish ambition
My working rule: set ISO manually, never exceed your tested ceiling, and adjust shutter first if the histogram underexposes.
Aperture: Fixed, So Plan Around It
Most consumer drones run f/2.8 or f/2.9. The Mavic 4’s variable aperture (f/2.8–f/11) is rare flexibility—keep it wide open at night. Stopping down for “sharpness” costs you two stops of light you’ll never recover. Sharpness concerns at f/2.8 are overblown for aerial work; you’re not pixel-peeping landscapes from a tripod.
Flight Techniques That Make or Break Night Shots
Settings mean nothing if your platform isn’t stable. Night flying introduces challenges Auto RTH and obstacle avoidance can’t solve—many systems degrade or disable in low light.
Pre-flight checklist:
- Verify satellite count (12+ for stable hover)
- Calibrate compass away from metal structures
- Enable Tripod or Cine mode for reduced response sensitivity
- Set RTH altitude 50 feet above tallest local structure
- Scout during daylight; note power lines, crane locations, antenna arrays
In-flight discipline:
- Hover 10 seconds before each shot to let gimbal settle
- Use manual focus peaking—autofocus hunts mercilessly in contrast-poor night scenes
- Shoot bursts of 3–5 frames for stills; pick sharpest in post
- Monitor wind speed in DJI Fly app; abort if gusts exceed 12 mph
The 2026 wildcard: ADS-B receivers are now standard on sub-250g drones, but manned aircraft are less visible to you at night. Maintain visual line of sight strictly—your night vision won’t recover for 20 minutes after checking a bright phone screen.
Post-Processing: Where Night Photos Actually Happen
Raw capture is essential. DNG files from DJI drones and Autel’s comparable format preserve 2–3 stops of recoverable shadow detail that JPEG crushes.
Lightroom/Photoshop workflow:
- Noise reduction first: Apply 15–25 luminance NR globally before any other adjustments
- Exposure and curves: Lift shadows selectively with masked radial gradients; avoid global shadow sliders that reveal pattern noise
- Color temperature: Night cityscapes often need 3200–3800K correction; sodium vapor reads extremely orange
- Dehaze +10 to +20: Counteracts atmospheric haze that becomes visible at night
- Sharpening masked to edges: Avoid sharpening sky noise; use masking slider at 60–80
For stacked Milky Way sequences, Sequator (free) or Starry Landscape Stacker (Mac) align and average multiple 3-second exposures, effectively giving you a 15-second equivalent with dramatically reduced noise.
Drone Night Photography Settings Complete Guide: Quick Reference Card
| Scenario | Shutter | ISO | Aperture | Notes |
|---|---|---|---|---|
| City skyline, stills | 2s | 1600 | f/2.8 | Tripod mode, zero wind |
| Traffic light trails | 4s | 800 | f/2.8 | Compose for leading lines |
| Milky Way, single frame | 3.2s | 3200 | f/2.8 | 500 rule for focal length |
| Night video, 24fps | 1/50s | 3200 | f/2.8 | Add practical lights in scene |
| Full moon landscape | 1/10s | 400 | f/2.8 | Surprisingly bright; test first |
| Concert/event aerial | 1/60s | 3200 | f/2.8 | Watch for laser damage to sensor |
Conclusion
The 2026 night flying season is already producing some of the most accessible astrophotography in drone history—better sensors, clearer regulations, and a community that’s finally sharing real technique instead of just final results. But gear alone doesn’t create those shots. Understanding your drone night photography settings complete guide fundamentals—manual exposure discipline, tested ISO limits, and flight stability under darkness—separates the pilots who post once from those who build portfolios.
This weekend’s Perseids are your proving ground. Charge your batteries, lock your settings, and fly before the moon rises. The sky isn’t the limit after dark—it’s just the beginning.